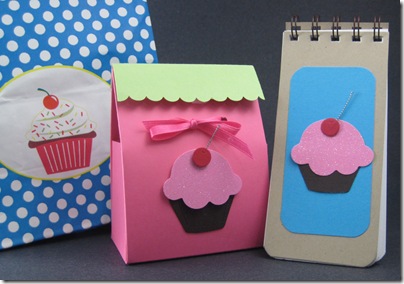
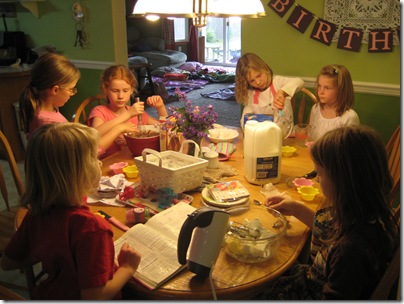
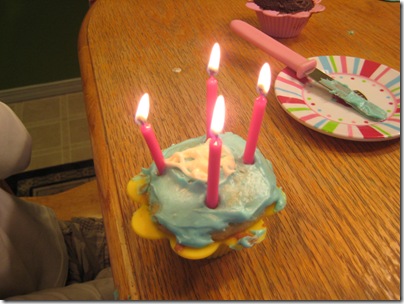
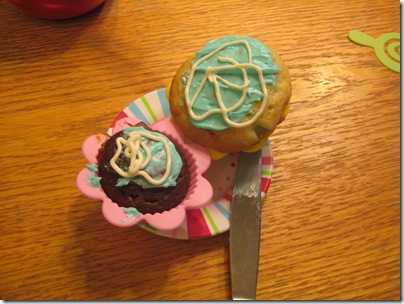
Here is the notebook I made to go in the birthday goodie bags. The cupcake birthday party was a hit…and I didn’t even have to bake the cake before hand. I had the girls all mix and pour the cupcakes and then frost them! I’d recommend the theme! The goodie bags I found at Michaels for $0.29 each!
Friday, May 8, 2009
Wednesday, May 6, 2009
Cupcake Birthday
Tegan decided she’d like to have a cupcake themed birthday party. I don’t know if it was because I gently and subtly guided her in that direction or if it is what she really wanted. It was her…I remember now. She wanted that silly cupcake making toy (which got only 1 out of 5 stars on Amazon.) Still, the cupcake is very “in” right now, so yeah!
Here are the treat bags I made to go inside her goodie bags. 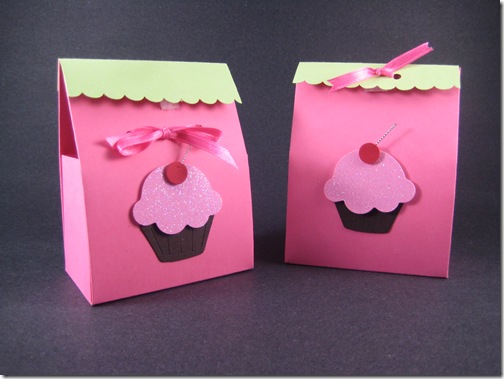
This is made out of one 8 1/2 x 11 sheet of cardstock. I went out and got myself a Scor-Pal. I LOVE it! There are great ideas in the projects section on their website. This is called the One Sheet Box. These are quick to make and are very sturdy little boxes. I put little bags of Jelly Belly beans in them. I think they’ll be a great party favor. I used velcro to close them so these eight-year-old girls could open and shut them on their own.
I almost gave a way the Sizzix die I used to make the cupcakes. Now I’m glad I still have it! Since cupcakes are so trendy, this die will get a lot of use in the next few months!
PS. I LOVE the sparkly pink paper that I found to make the cupcake top. It was a little pricey, but you could make a ton of cupcakes from one sheet!
Saturday, April 25, 2009
A Couple Recent Cards
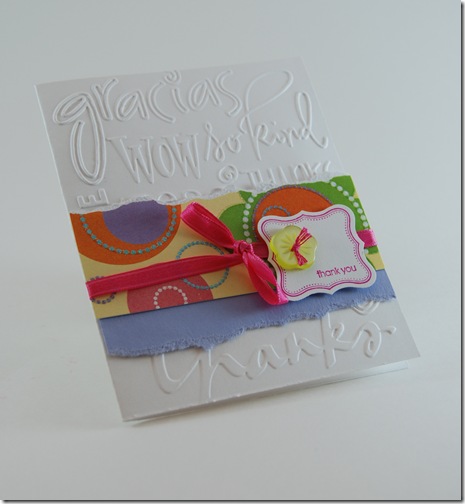
For this card I used the “Gridlines” set I bought from Papertrey Ink to create the background. I love that company. They sell clear stamps for acrylic blocks. Their sets fit inside CD cases, so they are very easy to store! The quote stamp, oval punch, and scallop punch came from Stampin’ Up.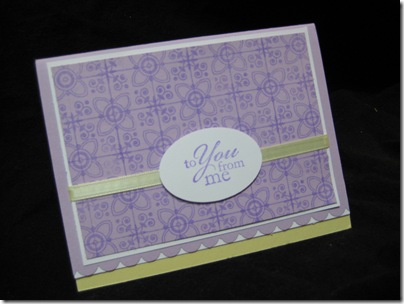 I ran the white cardstock for this card through a Cuttlebug embossing folder. I use my large Sizzix machine to do it. The stamp and punch are from Stampin’ Up. I love that squirrley shaped punch! Th
This has the same squirrely punch, but I like the detail of the zig-zag stitching around the outside. The flower is a made of felt. I got it at my favorite scrapbooking store.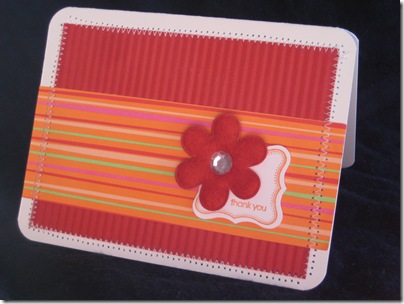
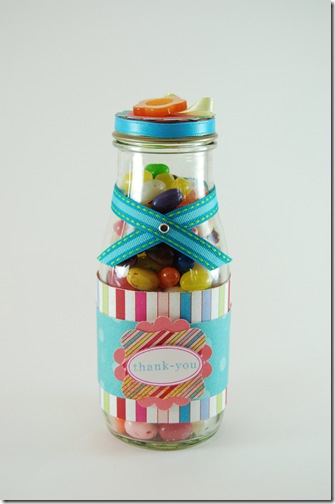
Frappacino Bottle
I love how this bottle turned out. We wanted to make something good for the girls’ Girl Scout leaders for their appreciation day. We’ll also give these to their teachers during teacher appreciation week the first week of May.
These bottles make excellent thank you gifts! I know I’d like to receive one…especially with Jelly Bellies inside.
Saturday, February 14, 2009
Organizing Project

Years ago I had seen a suggestion of turning one of those wire shelf kits into a scrapbook paper holder. I bought this kit at Target for $16.99. I had to buy a couple packs of zip ties to put it all together.
All you do is take the kit and put together two sections as directed. Then take the other pieces and zip tie into place as dividers. I placed mine vertically. The directions I had seen were for placing the shelves horizontal. I like it vertically so that I can easily see the pages. I separated my paper by color.
 I had to build a shelf to put the paper organizer on. It took a while to get it up there, but it was worth it! I LOVE the end result. It helps me to keep my space organized and everything is easier to find. The rest of the room now needs a little attention!
Sunday, February 8, 2009
Papertrey Contest
 I used their "Women of Life" stamp set and followed a sketch that was given as inspiration for the contest. Fun to do!
Latest Creations
This is a card I created using a stamp and my new texture plates from Stampin' Up. I love the embossing created on the blue. This was a very simple and fast card. The center of the flower is a gem brad.

This card is a 6x6 card made on a textured white paper. I again used a Stampin' Up texture plate. Some of my very favorite tools in my craft room are the punches I used to create the scalloped tags. They are all from Stampin' Up. I have two circle punches that layer perfectly on the scallop circle. They add character to little stamps and sentiments.

I have been using my Cricut like crazy. I can't believe I lived without one for so long. My niece turned ten today. Her parents redecorated her room for her birthday so I made this special picture for her room. She is totally into cherries right now!

I like the classic look of the white and white. I makes the cherries and her name pop. I used the Home Accent cartridge to create the cherries. The font is the Plantin Schoolbook cartridge.
I created the scalloped square myself using Sure Cuts A Lot software to cut it on the Cricut. That program plus the free program Inkscape have opened up the possiblities of the Cricut!
Each cherry embellishment is made by using dimensional foam adhesive for every layer.
I printed the verse out on white cardstock. I cut the paper to 8.5x12 inches so it would fit through my laser printer. I created the word art myself and set up the print job in MS Publisher.
Also, using the cricut and Sure Cuts A Lot, I created a dot patterned stencil and then laid it over my cardstock and colored the holes with a gable green marker. The light green pattern sets the paper off from the frame just enough.
My motivation for the art piece was to get that "Fruit of the Spirit" verse in a place where Emma could read it and write it on her heart. It helps that it is cute though!
Maybe I can sell these personalized on Etsy?

